
Exterior Transformation, Pt 2
In the first exterior post (you can dive into it right here), I shared some of the first projects we completed after moving into our home. Picture this: we tamed a jungle of brush, built a shed from scratch, conjured a fire pit for cozy evenings, and gave our home a stylish makeover with new windows, a snazzy front door, and a fresh coat of paint.
This post includes:
Landscaping the front yard
Creating a multi-season play space
Backyard renovation including a stamped concrete patio and steps to each tier of the backyard.
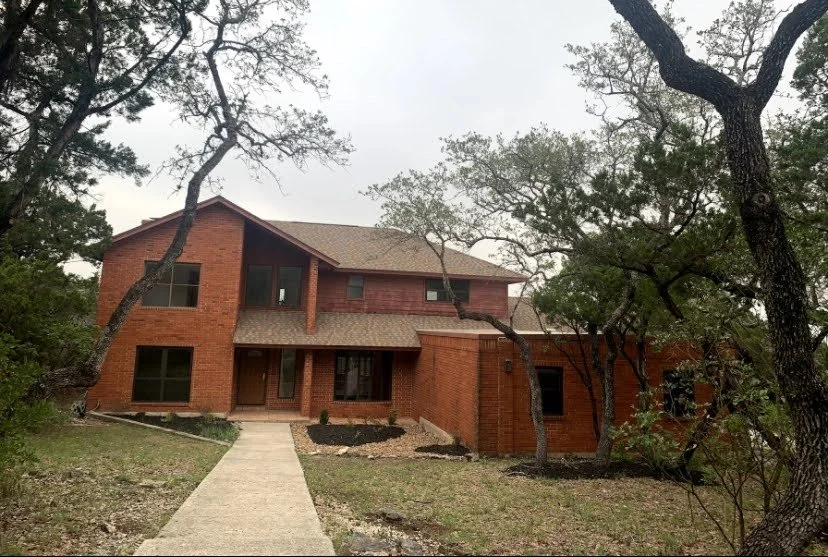
And just to jog your memory, here’s a throwback to what our house looked like when we first got the keys:


Front Yard Landscaping
If this post achieves anything, let it be a lively public service announcement for the joys of starting small in your garden! Embrace the budget-friendly beauty of tiny plants and watch them flourish over time, rather than splurging on mature greenery for that instant "full" effect. It's not just about saving a few bucks—it's about discovering which plants thrive in your space and which ones might be a tad high-maintenance.
But before we dive into the before-and-after reveal, take a peek at what our little green friends looked like when we first planted them.

I’m SO glad I decided to start small with our garden. Designed to be low-maintenance and drought-friendly, it was crucial to choose plants that could face the harsh afternoon sun and thrive with minimal watering. Once I got these plants settled in, it was tough love all the way! While a few of my choices didn’t survive the elements, the majority are thriving. Opting for smaller plants not only saved me money but also spared me the heartbreak of losing expensive, mature plants.
Though the temptation to fill in the empty spots left by the casualties was strong, I exercised (somewhat patient) restraint, letting a full winter season pass to see what else might not make it. Now, the survivors are looking vibrant and full of life! Some of the replacements are still small, but I’m confident they’ll grow into their spaces over time.
And now, check out the full before-and-after transformation of the front of our house! While there are still a couple of projects on my to-do list—like sprucing up the exterior light fixtures and adding more lighting around the driveway—I’m thrilled with the progress we’ve made. Some of the major changes, like the fresh paint, new windows, and door, were covered in the last post. Here's to more gardening adventures and a yard that keeps getting better with time!

Winter Yard Games + Summer Pool
If you call South Texas home, you know there comes a point each summer when venturing outside without a body of water nearby is simply not an option. That realization sparked our next adventure: installing an above-ground pool. While an in-ground pool was not an option due to budget constraints (unless anyone has a spare $100k they'd like to donate?) and the fact that our yard is practically solid bedrock, we needed something to help us cool off. I'll admit, I hesitated at first. Above-ground pools aren't exactly known for their aesthetic appeal. But the relentless heat eventually wore me down, and I decided a temporary eyesore was a small price to pay for enjoying our backyard in the heat. No regrets here!
We chose the lowest tier of our backyard for the pool's home base, right where our observation deck and playground reside (I guess I need to plan a Part 3 to share this one!). During the hot summer months, the pool would reign supreme. Then, as cooler weather rolled in, we'd pack it away and reclaim the area for yard games.
To make this dream a reality, we built a retaining wall to create a level spot. We filled it with sand and base material, compacted it down, and topped it off with artificial turf, creating a perfect play area for yard games. And the pool! A refreshing escape from the Texas sun, where summertime night swims have become my newfound obsession. Here’s to beating the heat!
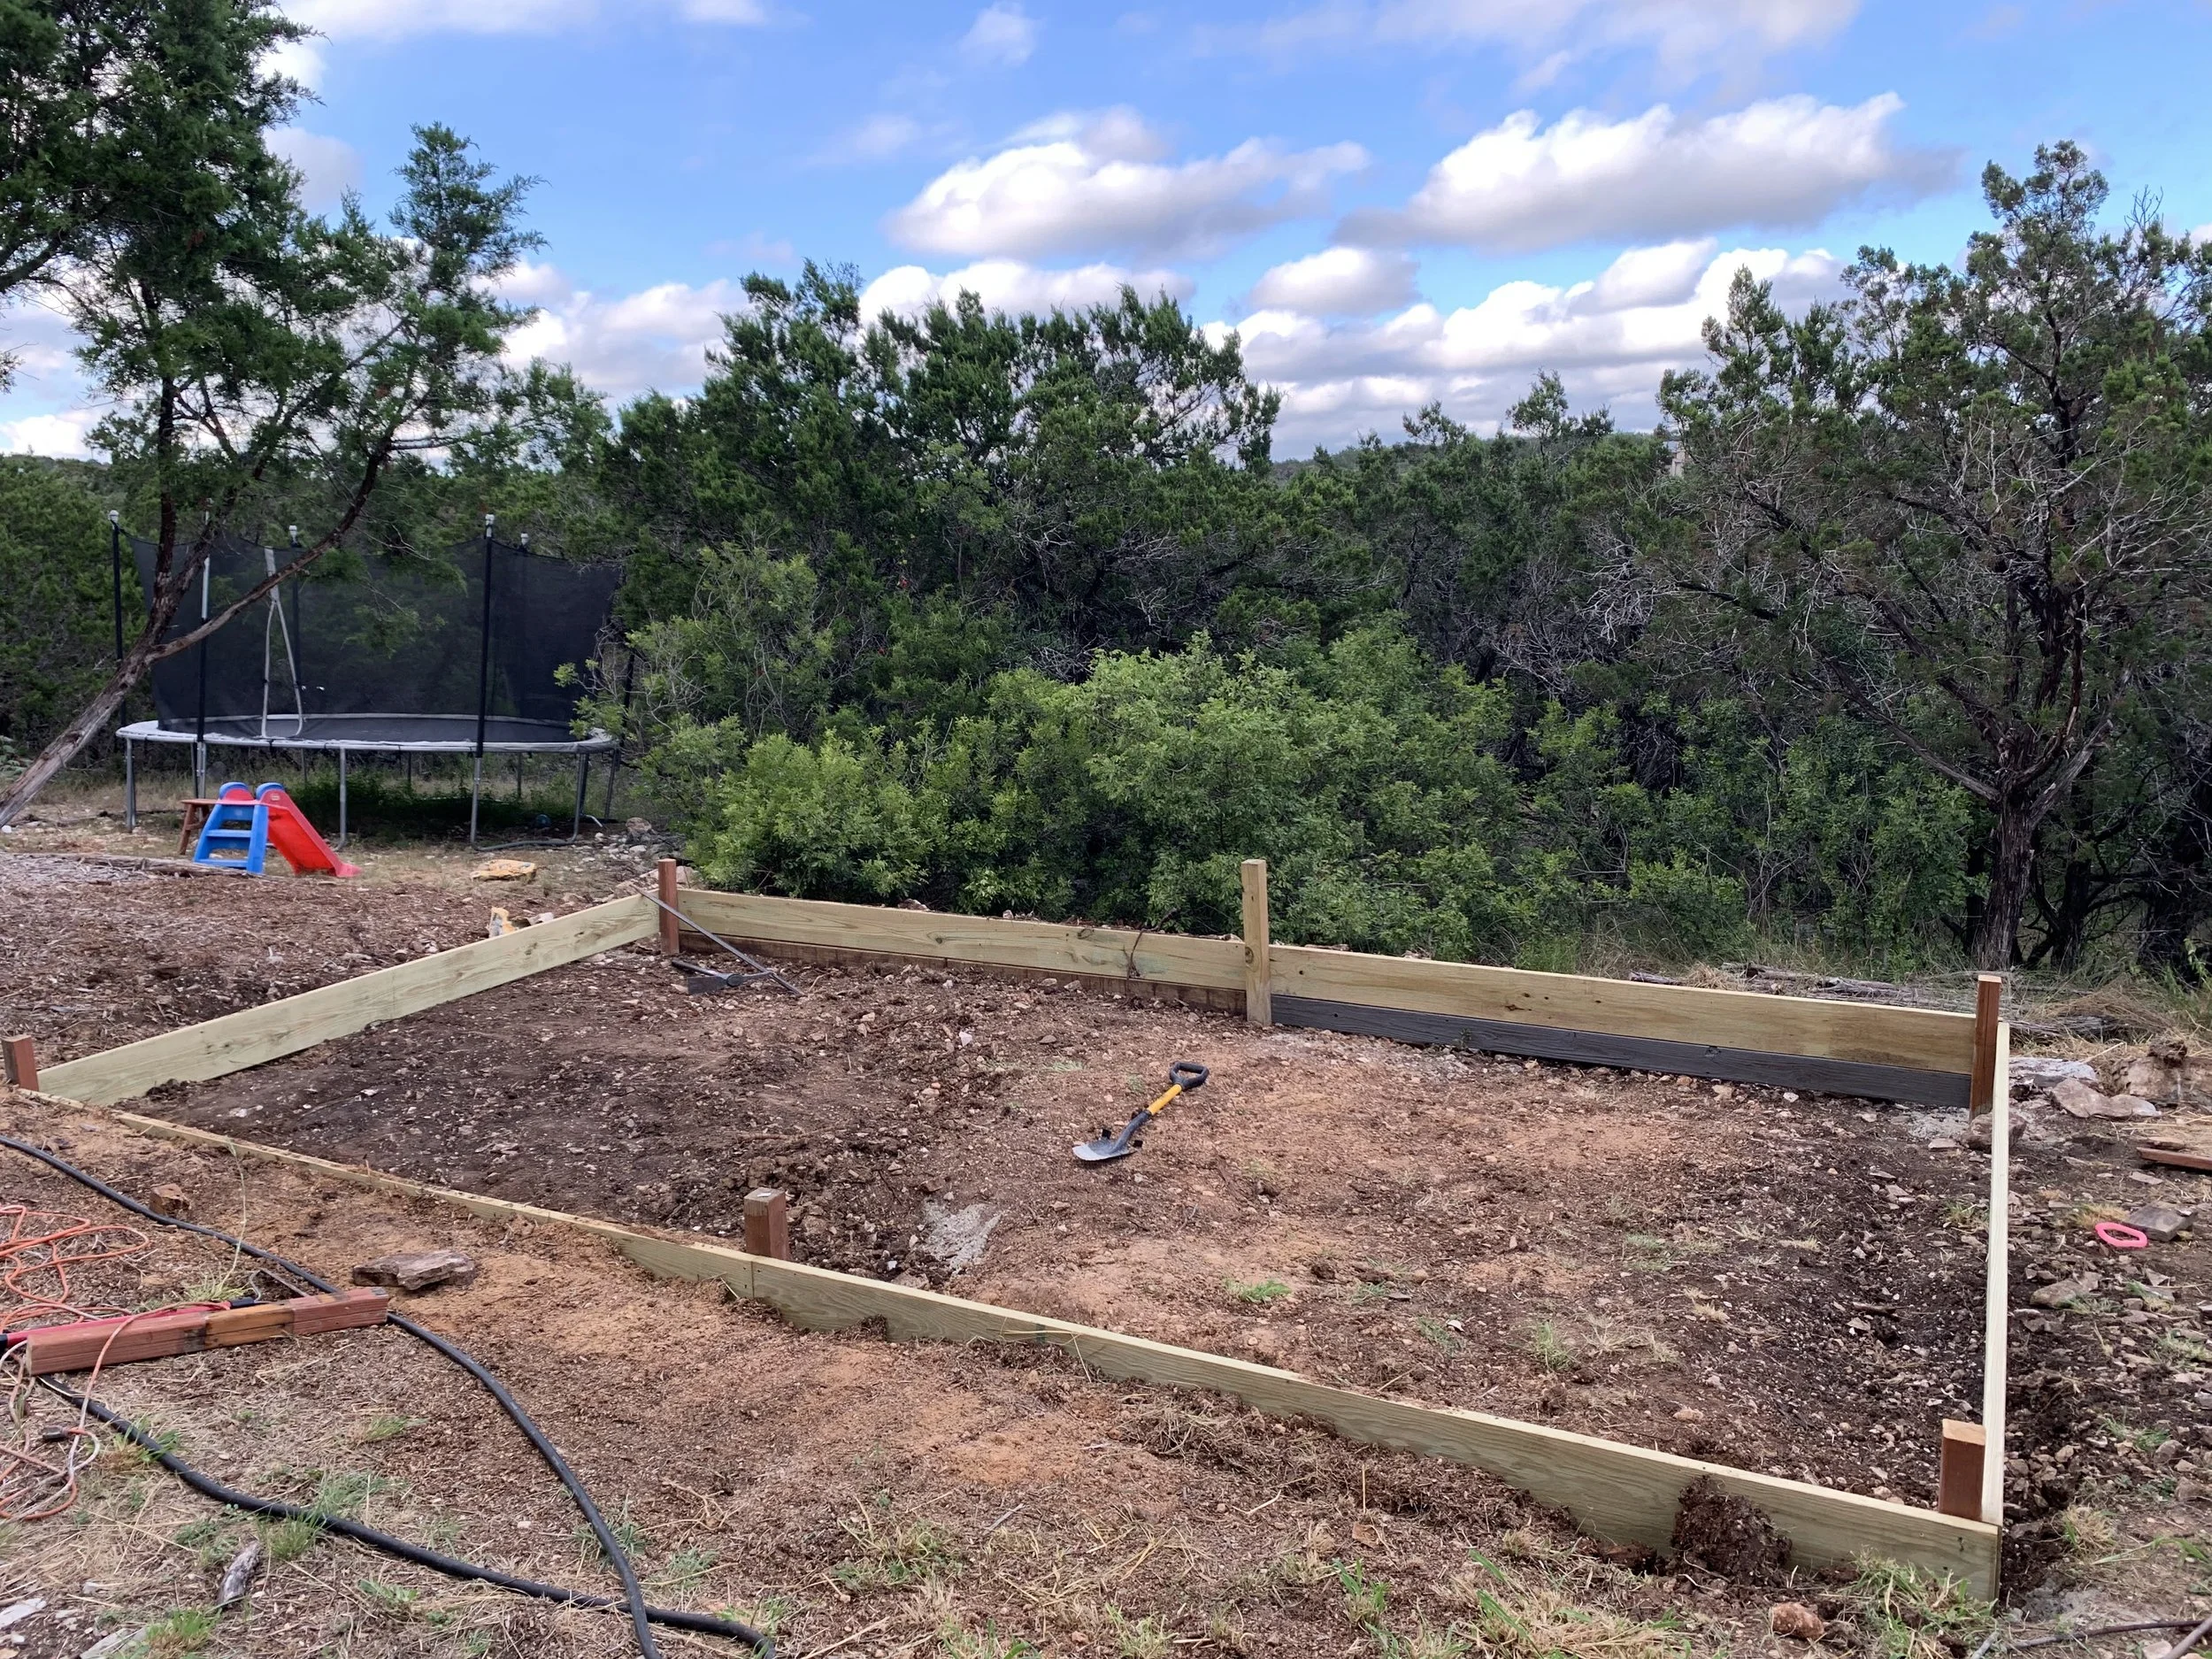


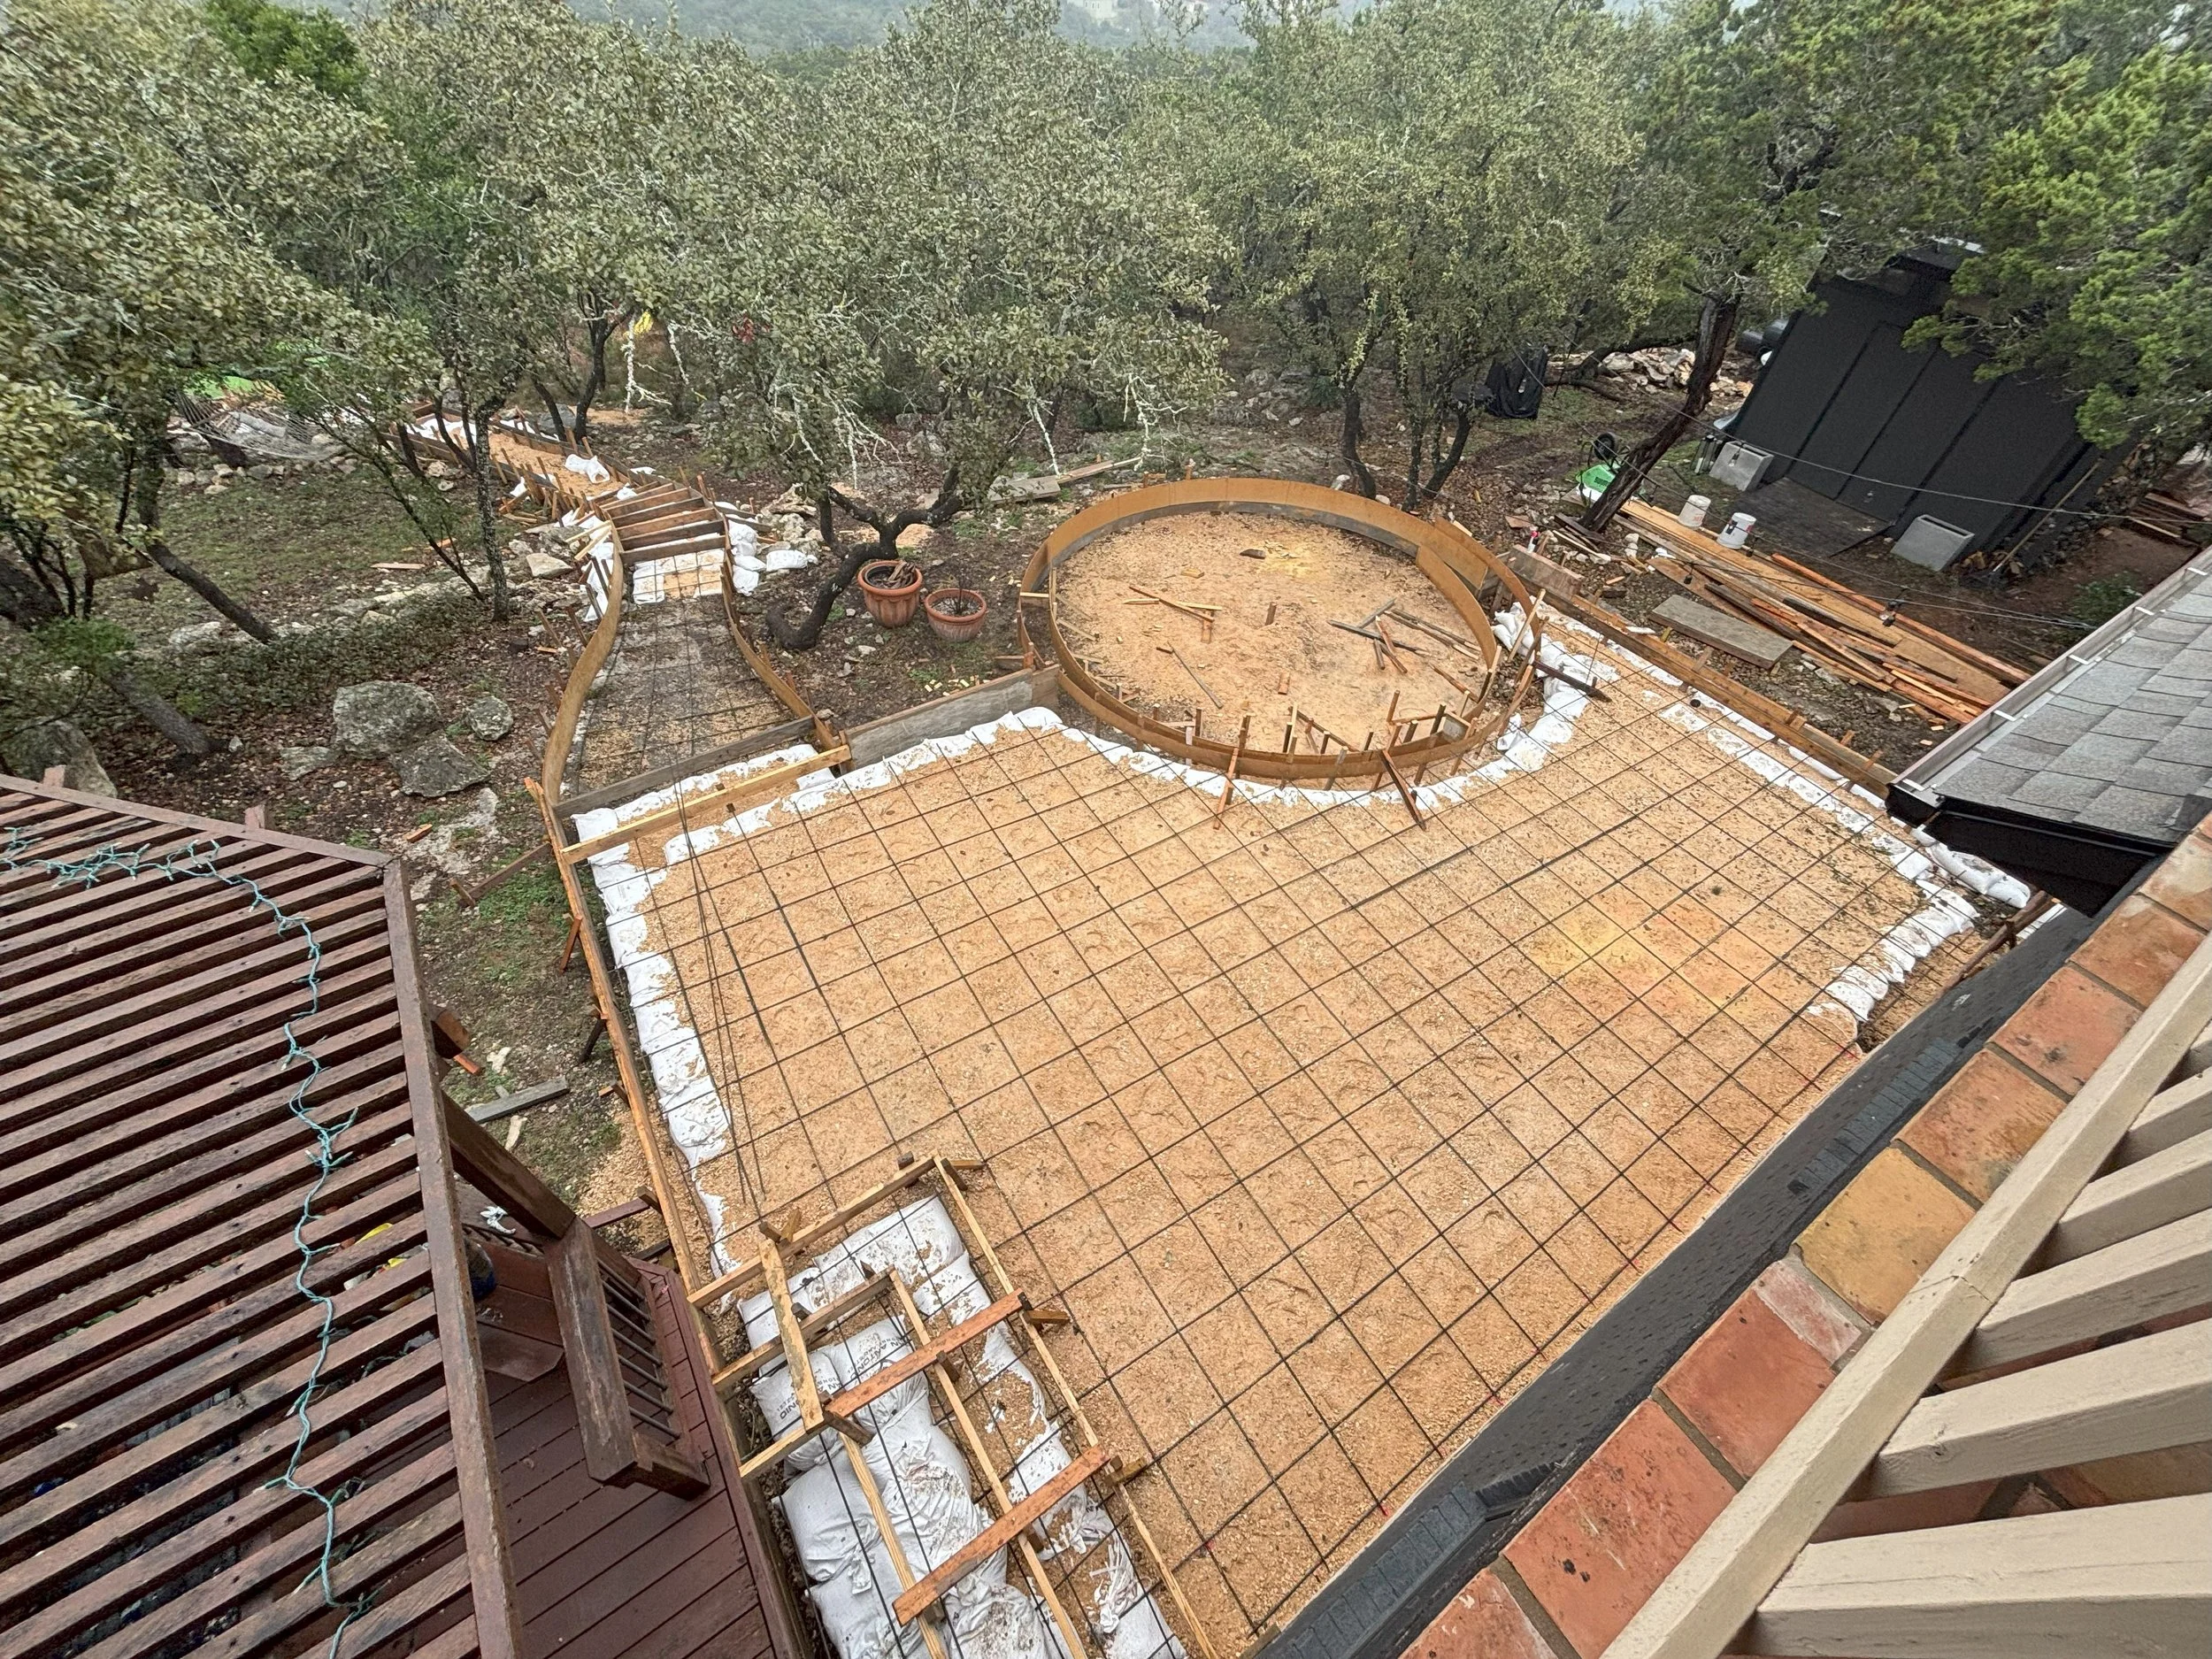
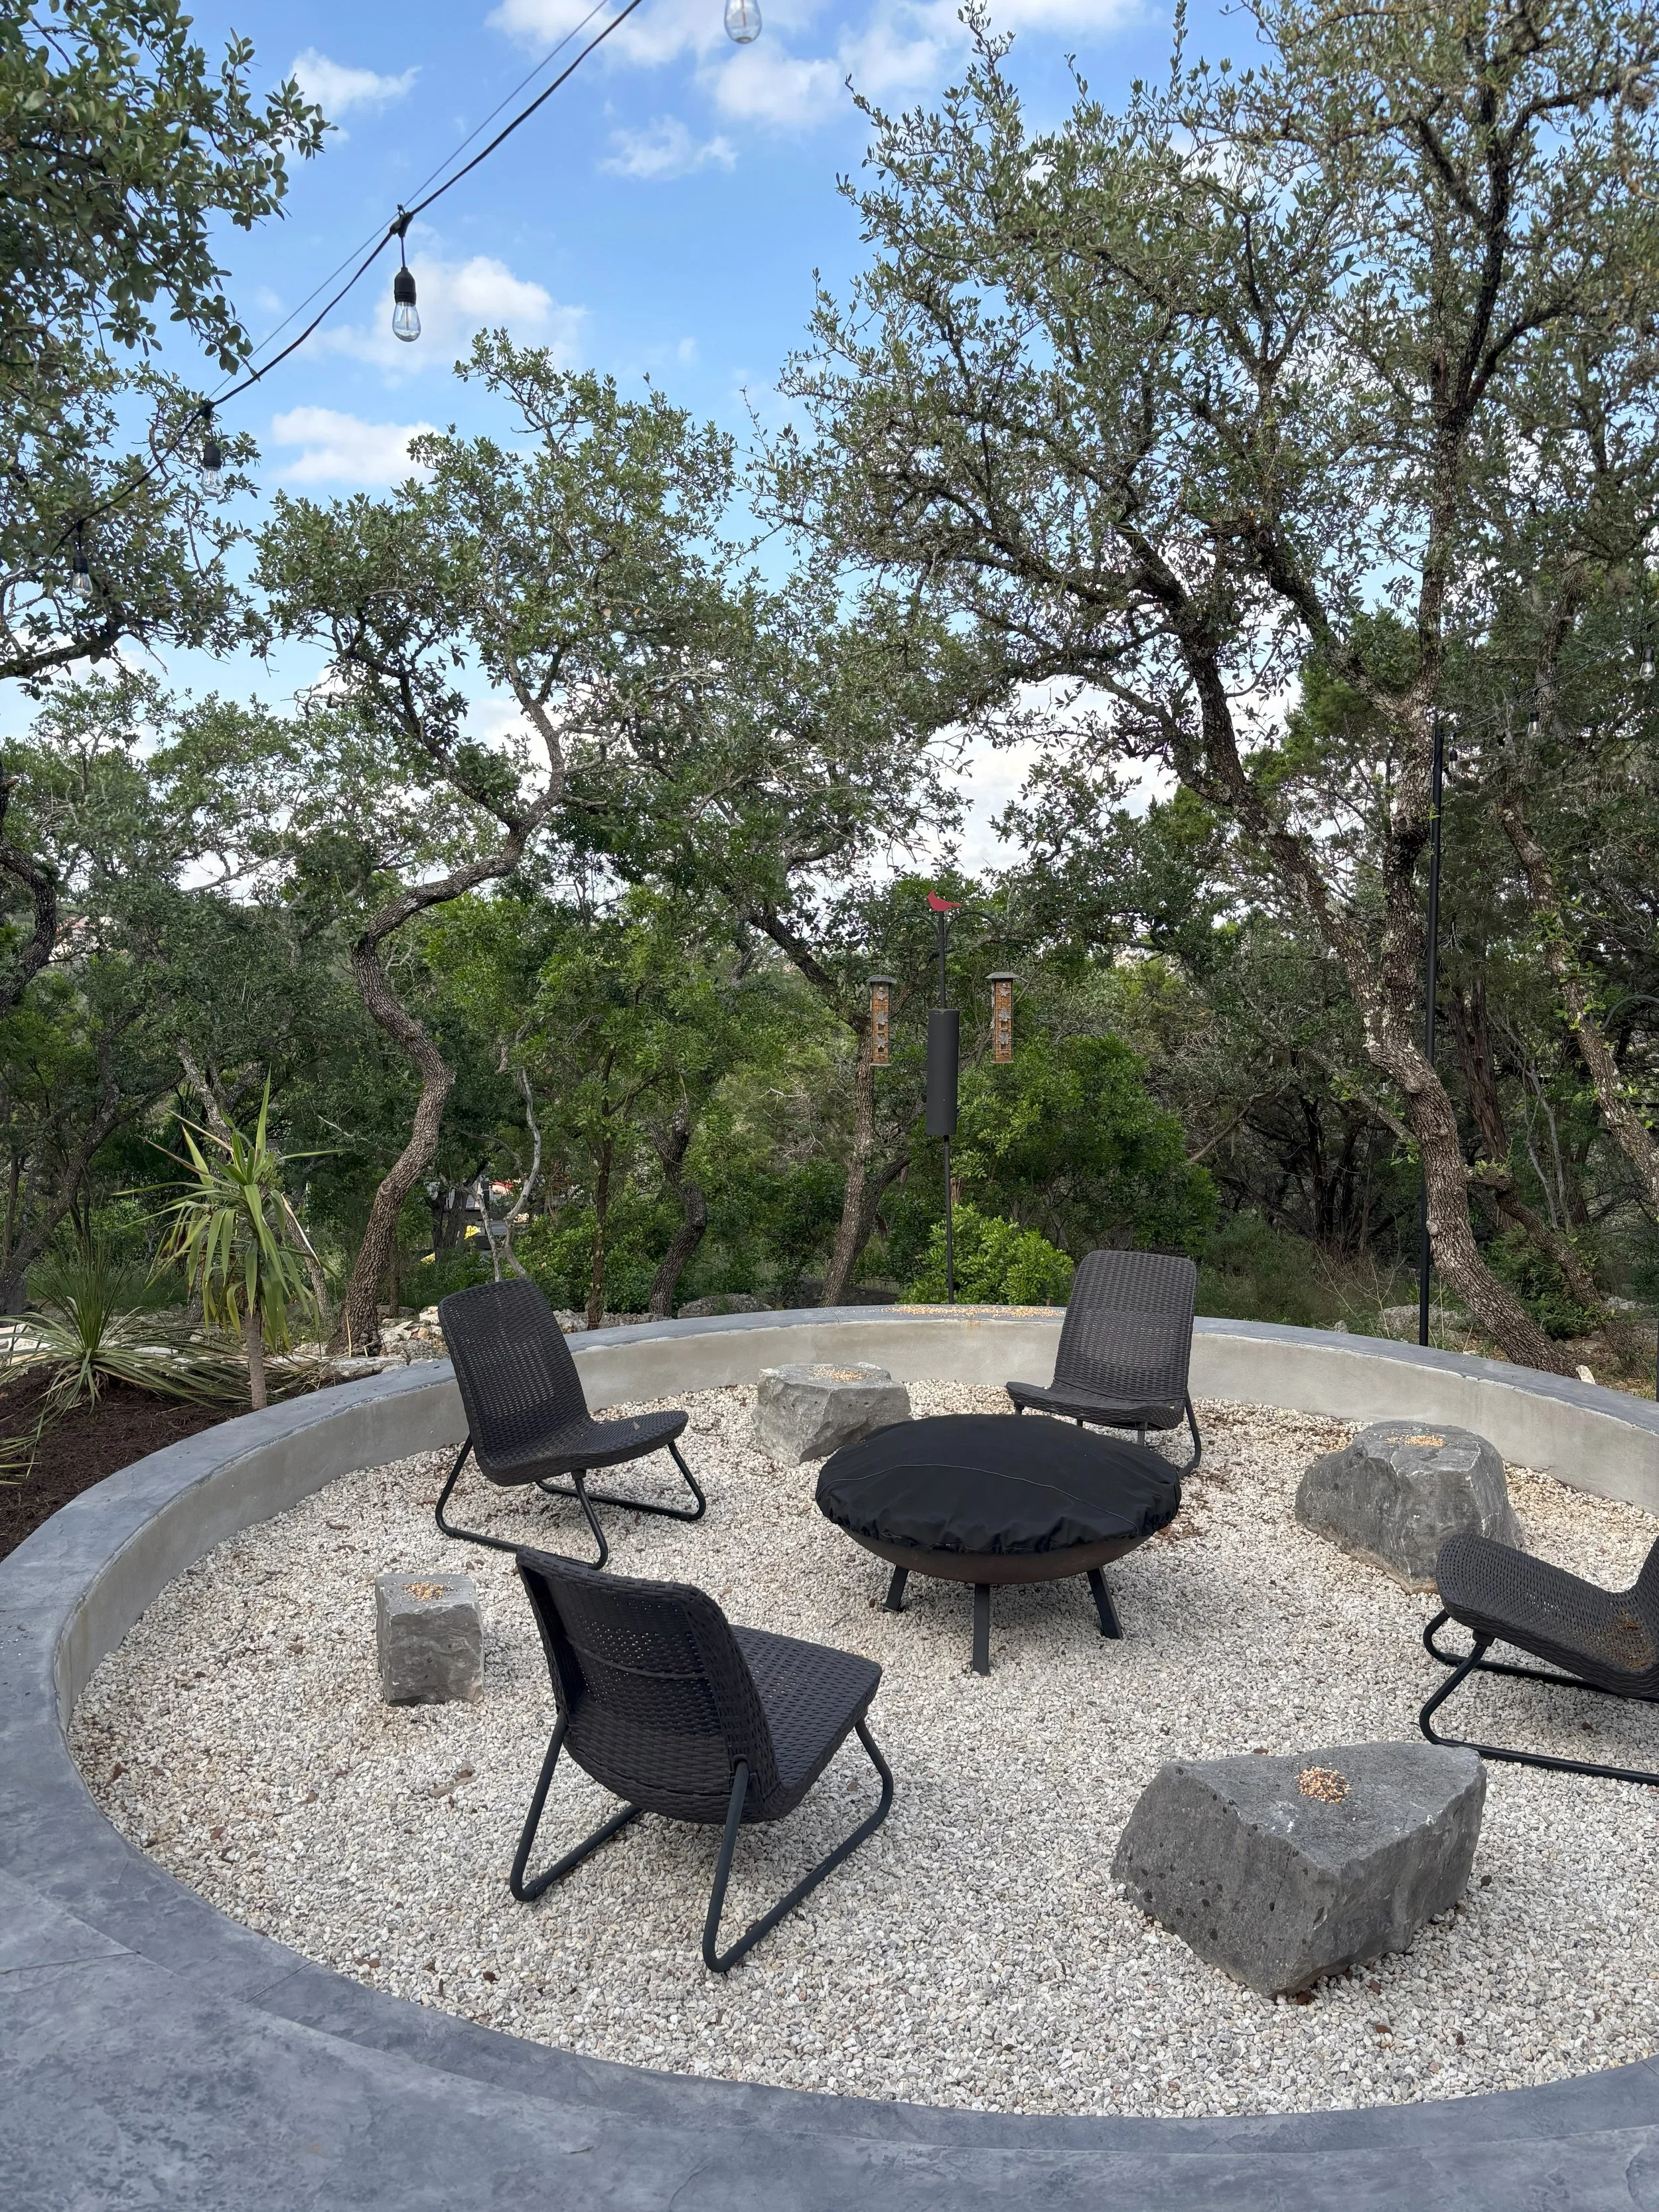
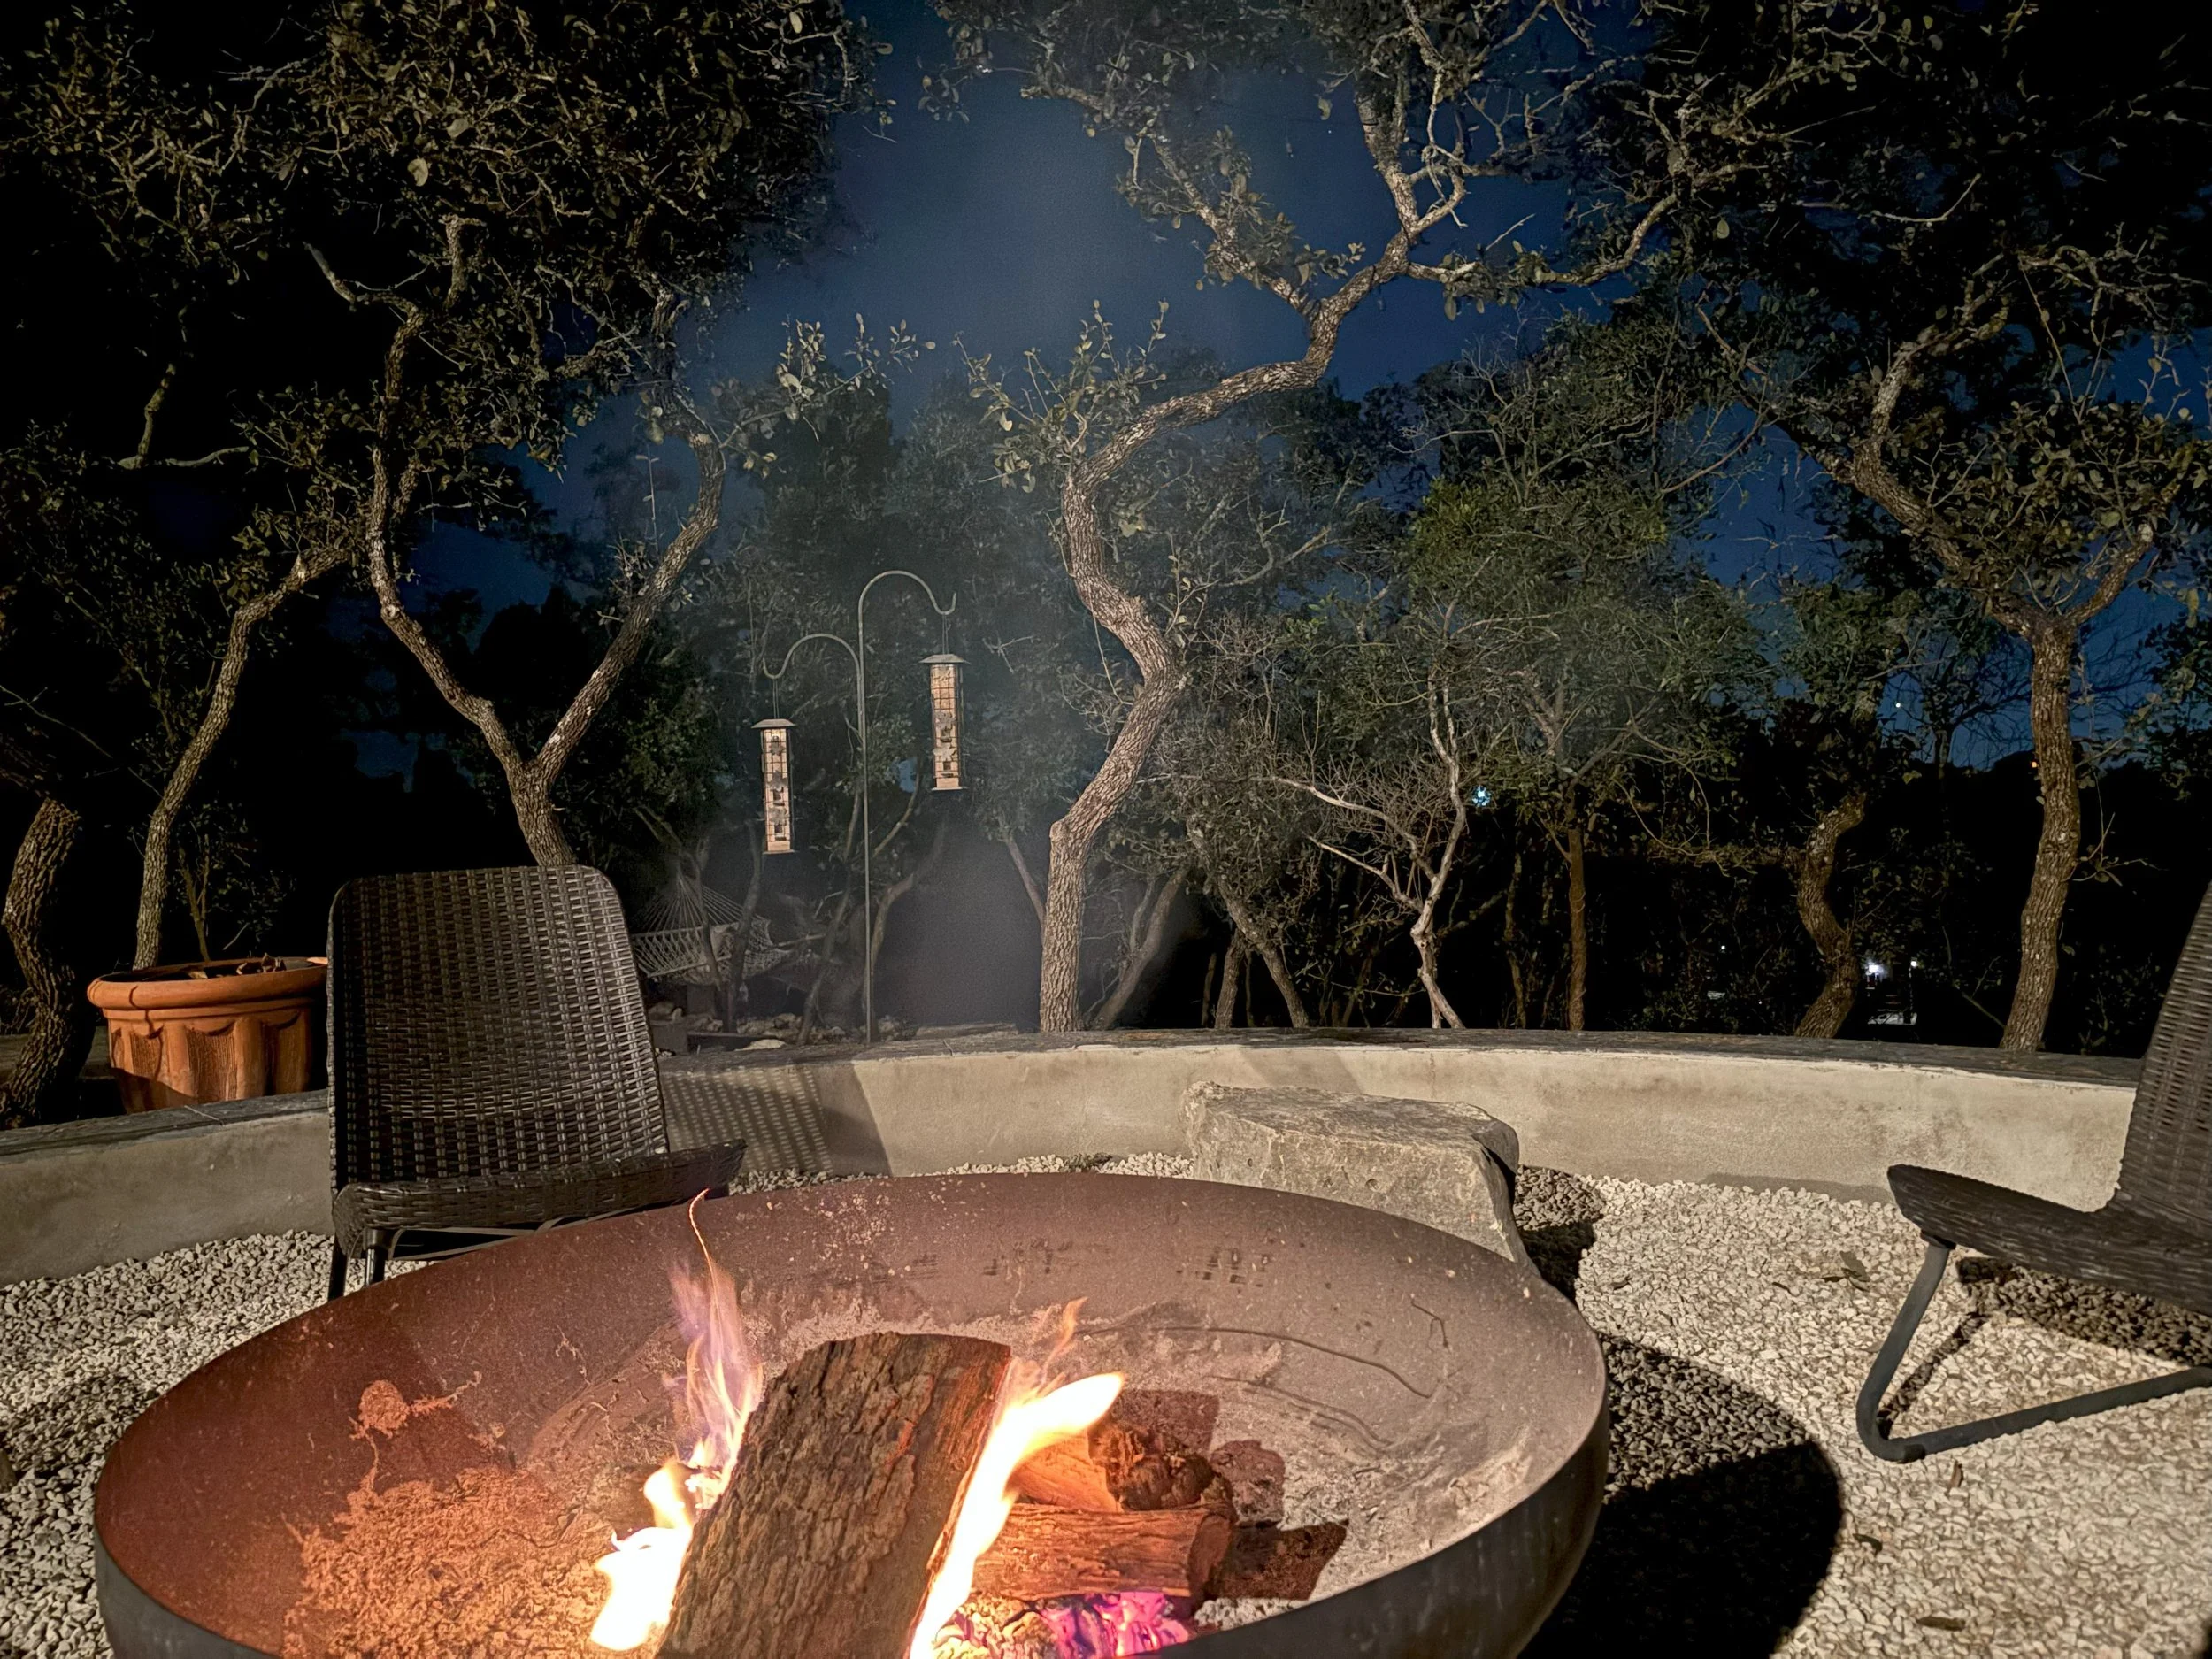
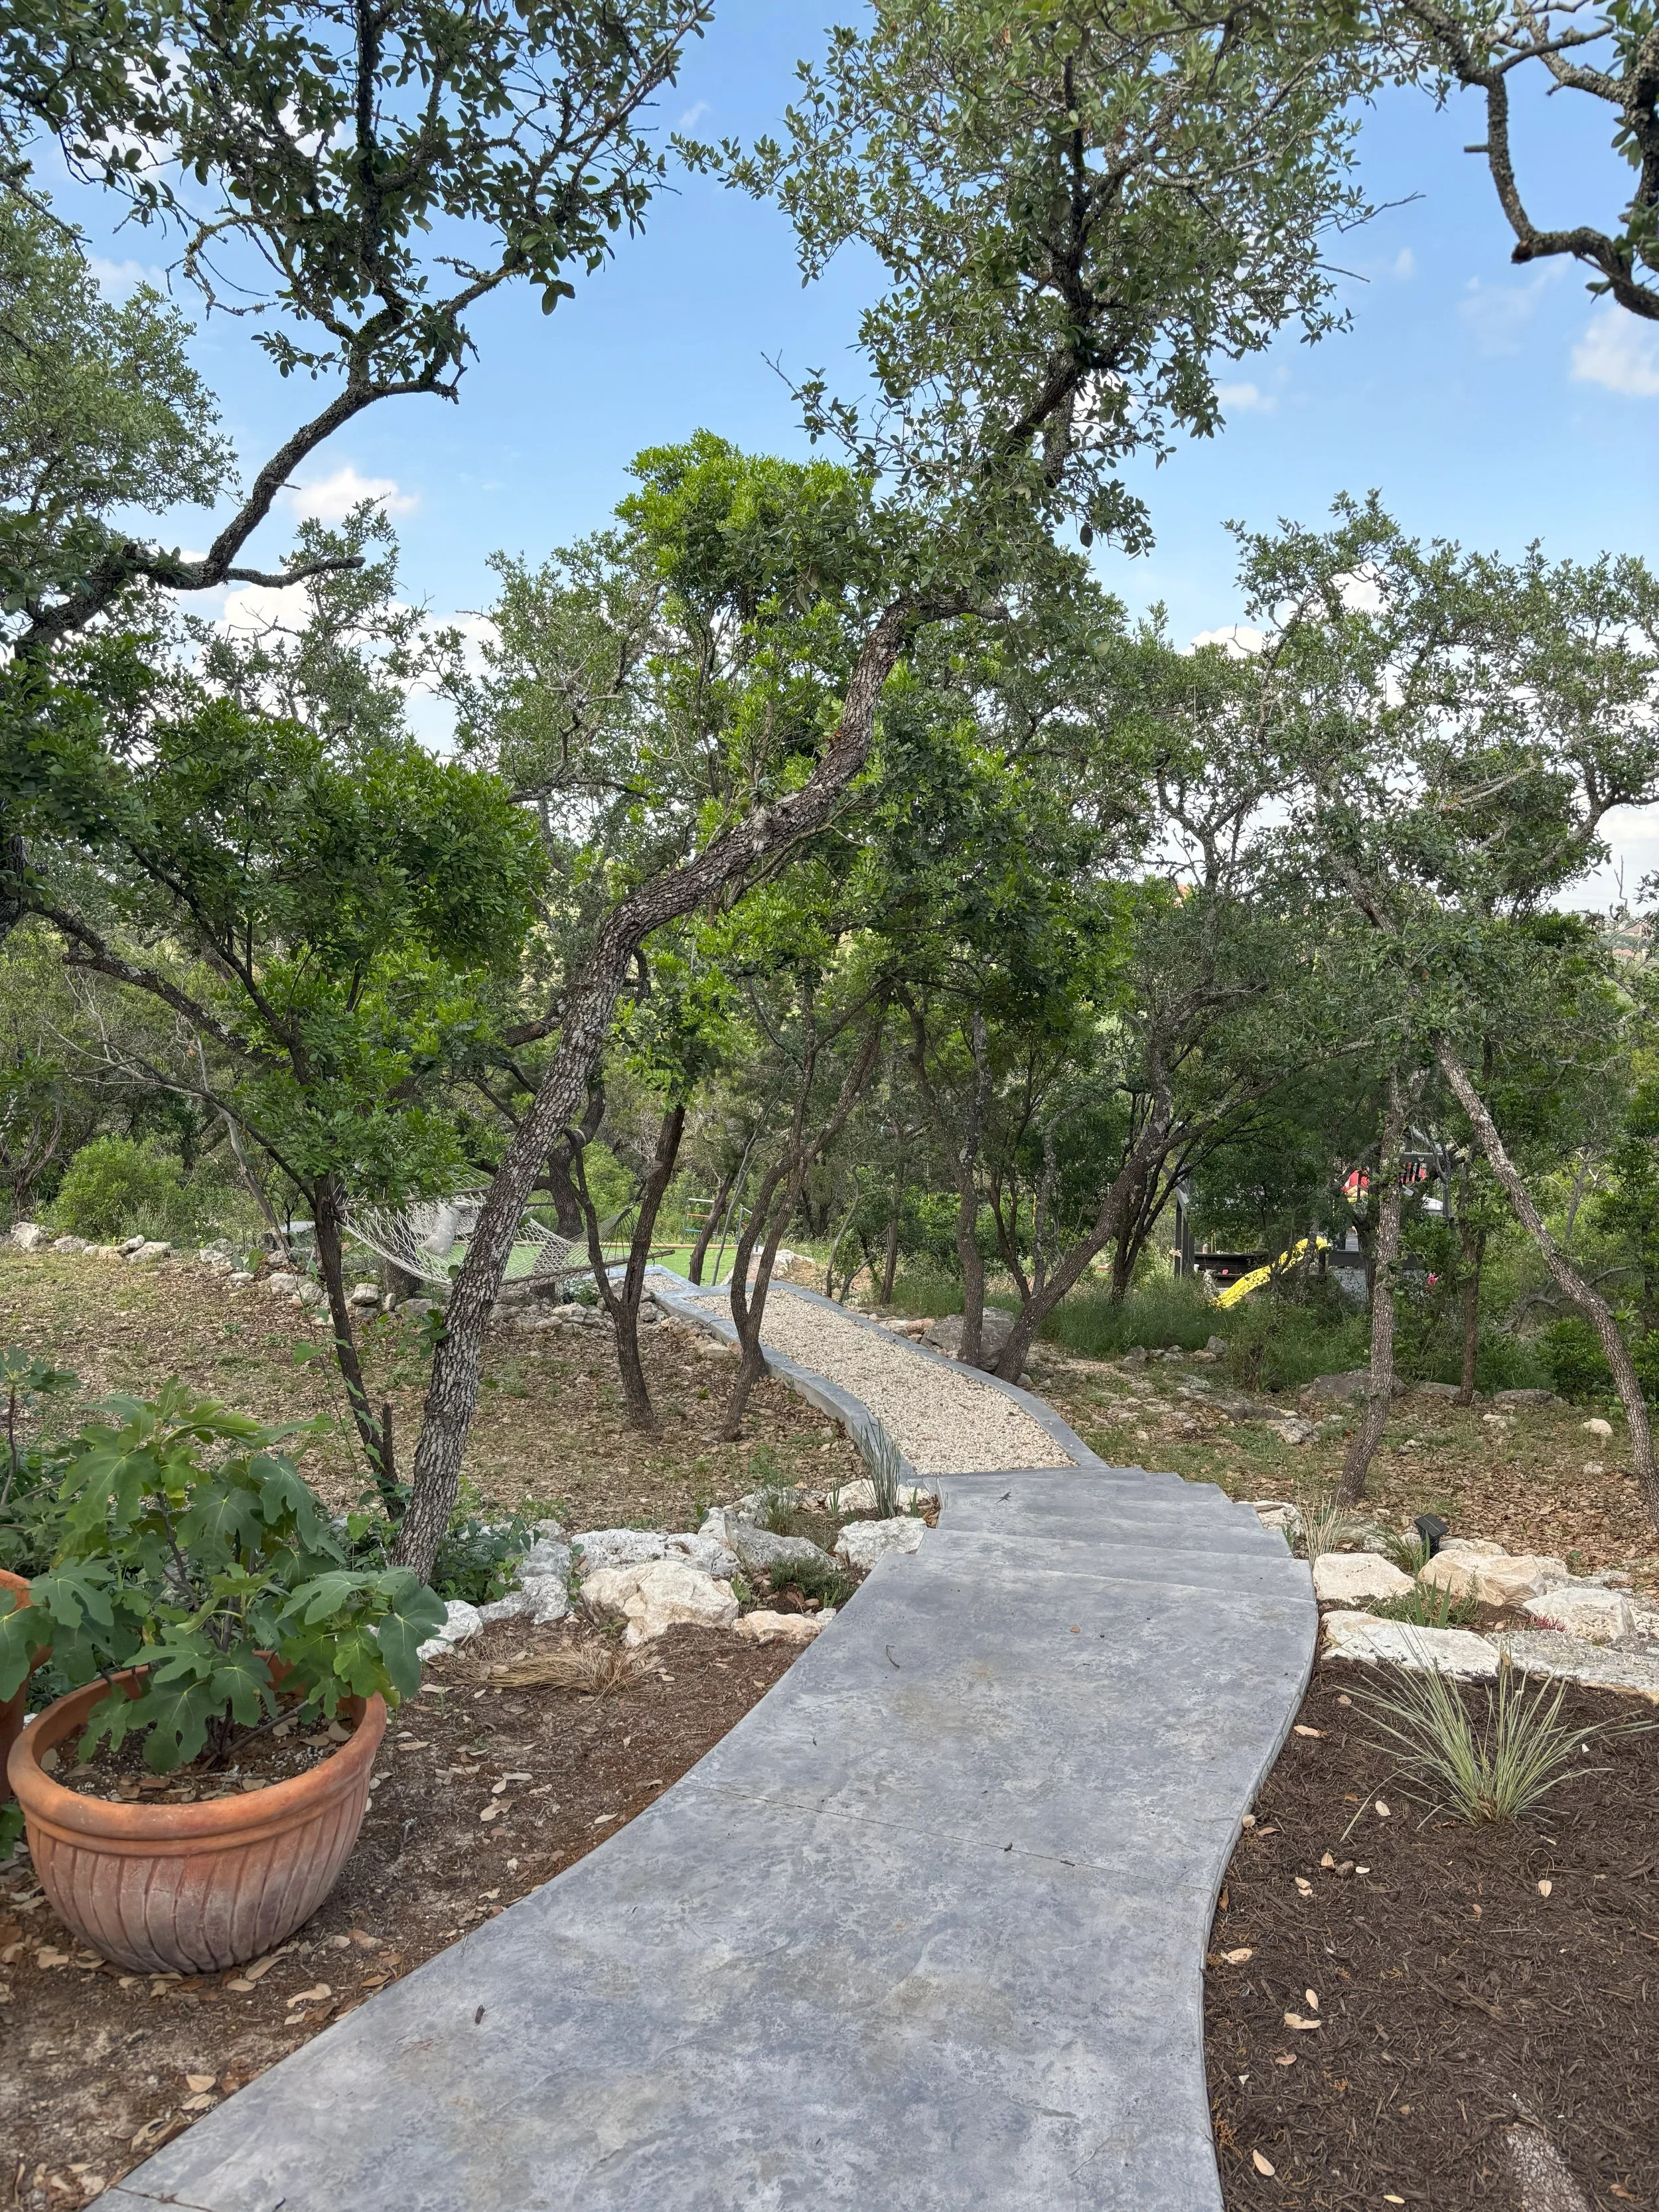
Patio Renovation + Stairs
This project was definitely a head-scratcher! Faced with a tricky patch just outside our house, we decided it was time to call in the pros. Enter Saylee Greer, local landscape architect, hired to help us transform this perplexing space into something usable and beautiful.
But first, let me set the scene. If you remember from my first exterior blog post, where I shared our DIY fire pit, this area might ring a bell. Right outside our back door, we had a wooden deck and a wooden walkway, surrounded by a backyard that was basically all bedrock. While I initially thought the rugged bedrock added a bit of character, it was uneven with sharp edges—not exactly a welcoming or safe environment.
Take a look at this before photo to see what we were up against:

The bedrock was just one of our backyard's quirky challenges. Our tiered yard had us dreaming of a natural rock-step pathway leading to the lowest level. Armed with rocks from our property, we gave it our best shot. But, well, let's just say it was not exactly what we had in mind. It was time to call in the pros to craft safe and sturdy stairs.
When Saylee Greer came over to discuss the project and give us a quote, we initially planned to hire them just for the stairs. However, their vision for our patio was so enticing—and admittedly beyond our DIY comfort zone—that we expanded the project. We settled on the design you see below, and Saylee Greer was wonderfully accommodating, allowing us to make a few tweaks once the project got underway.

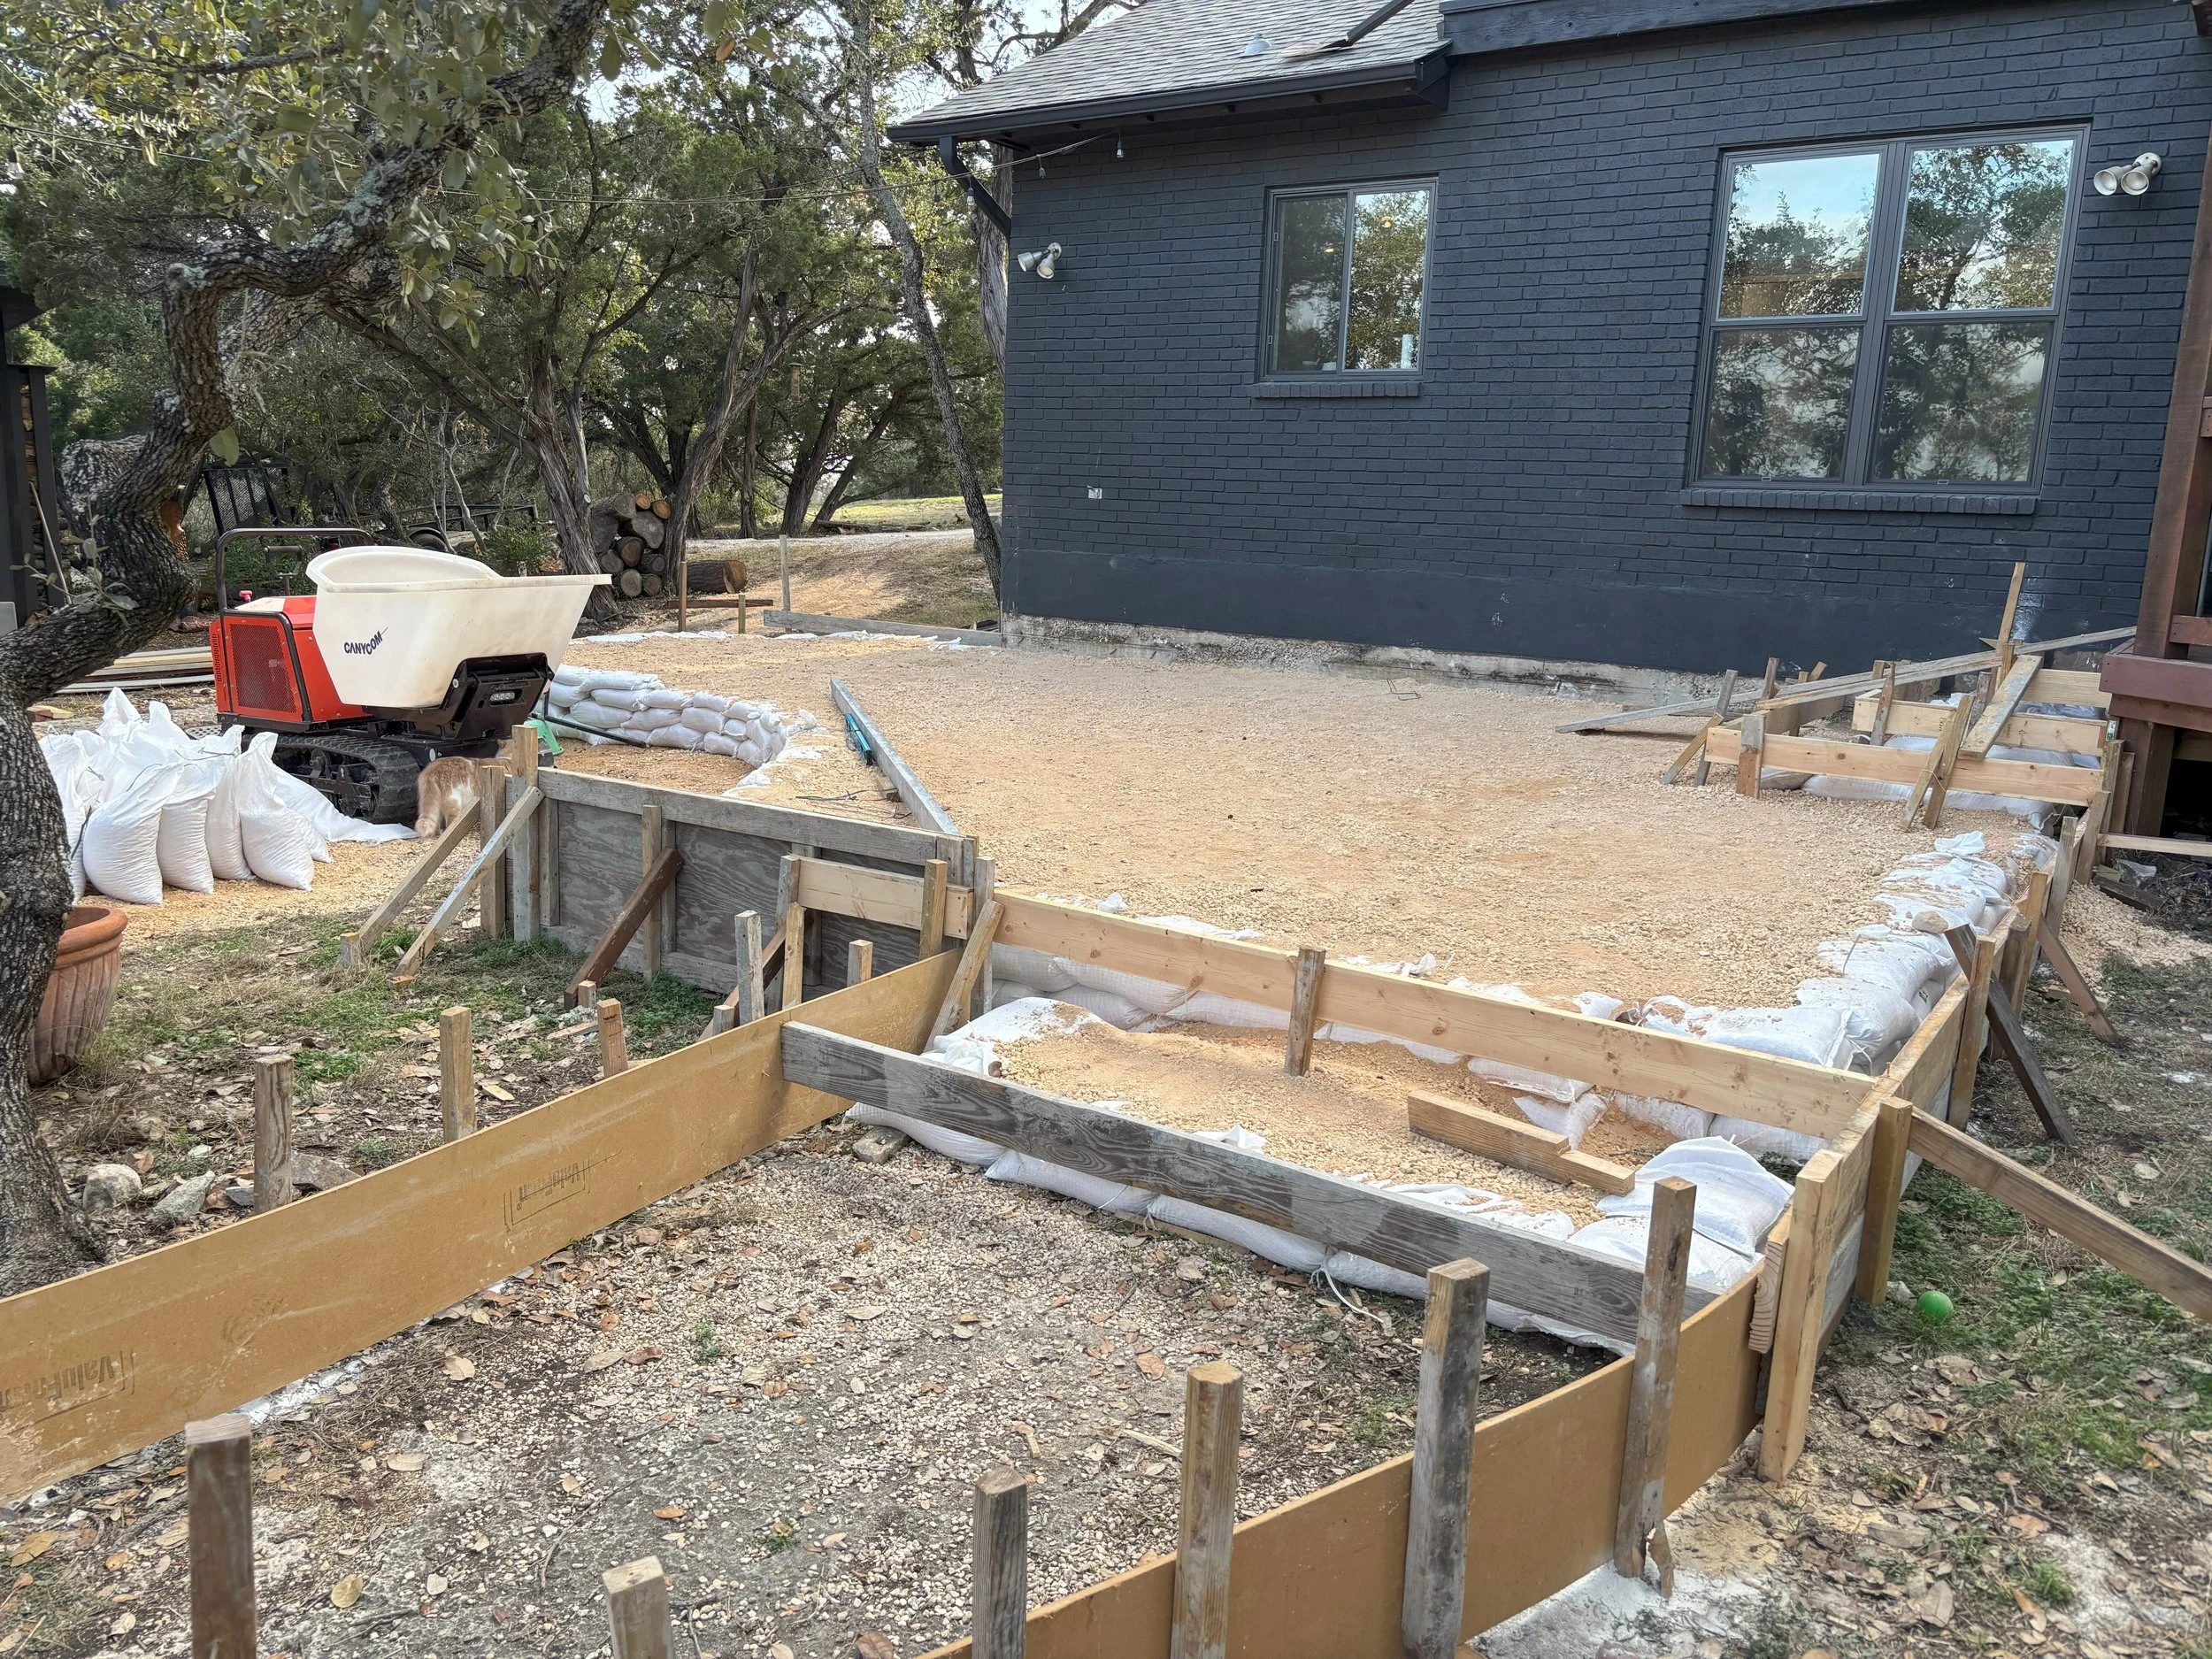
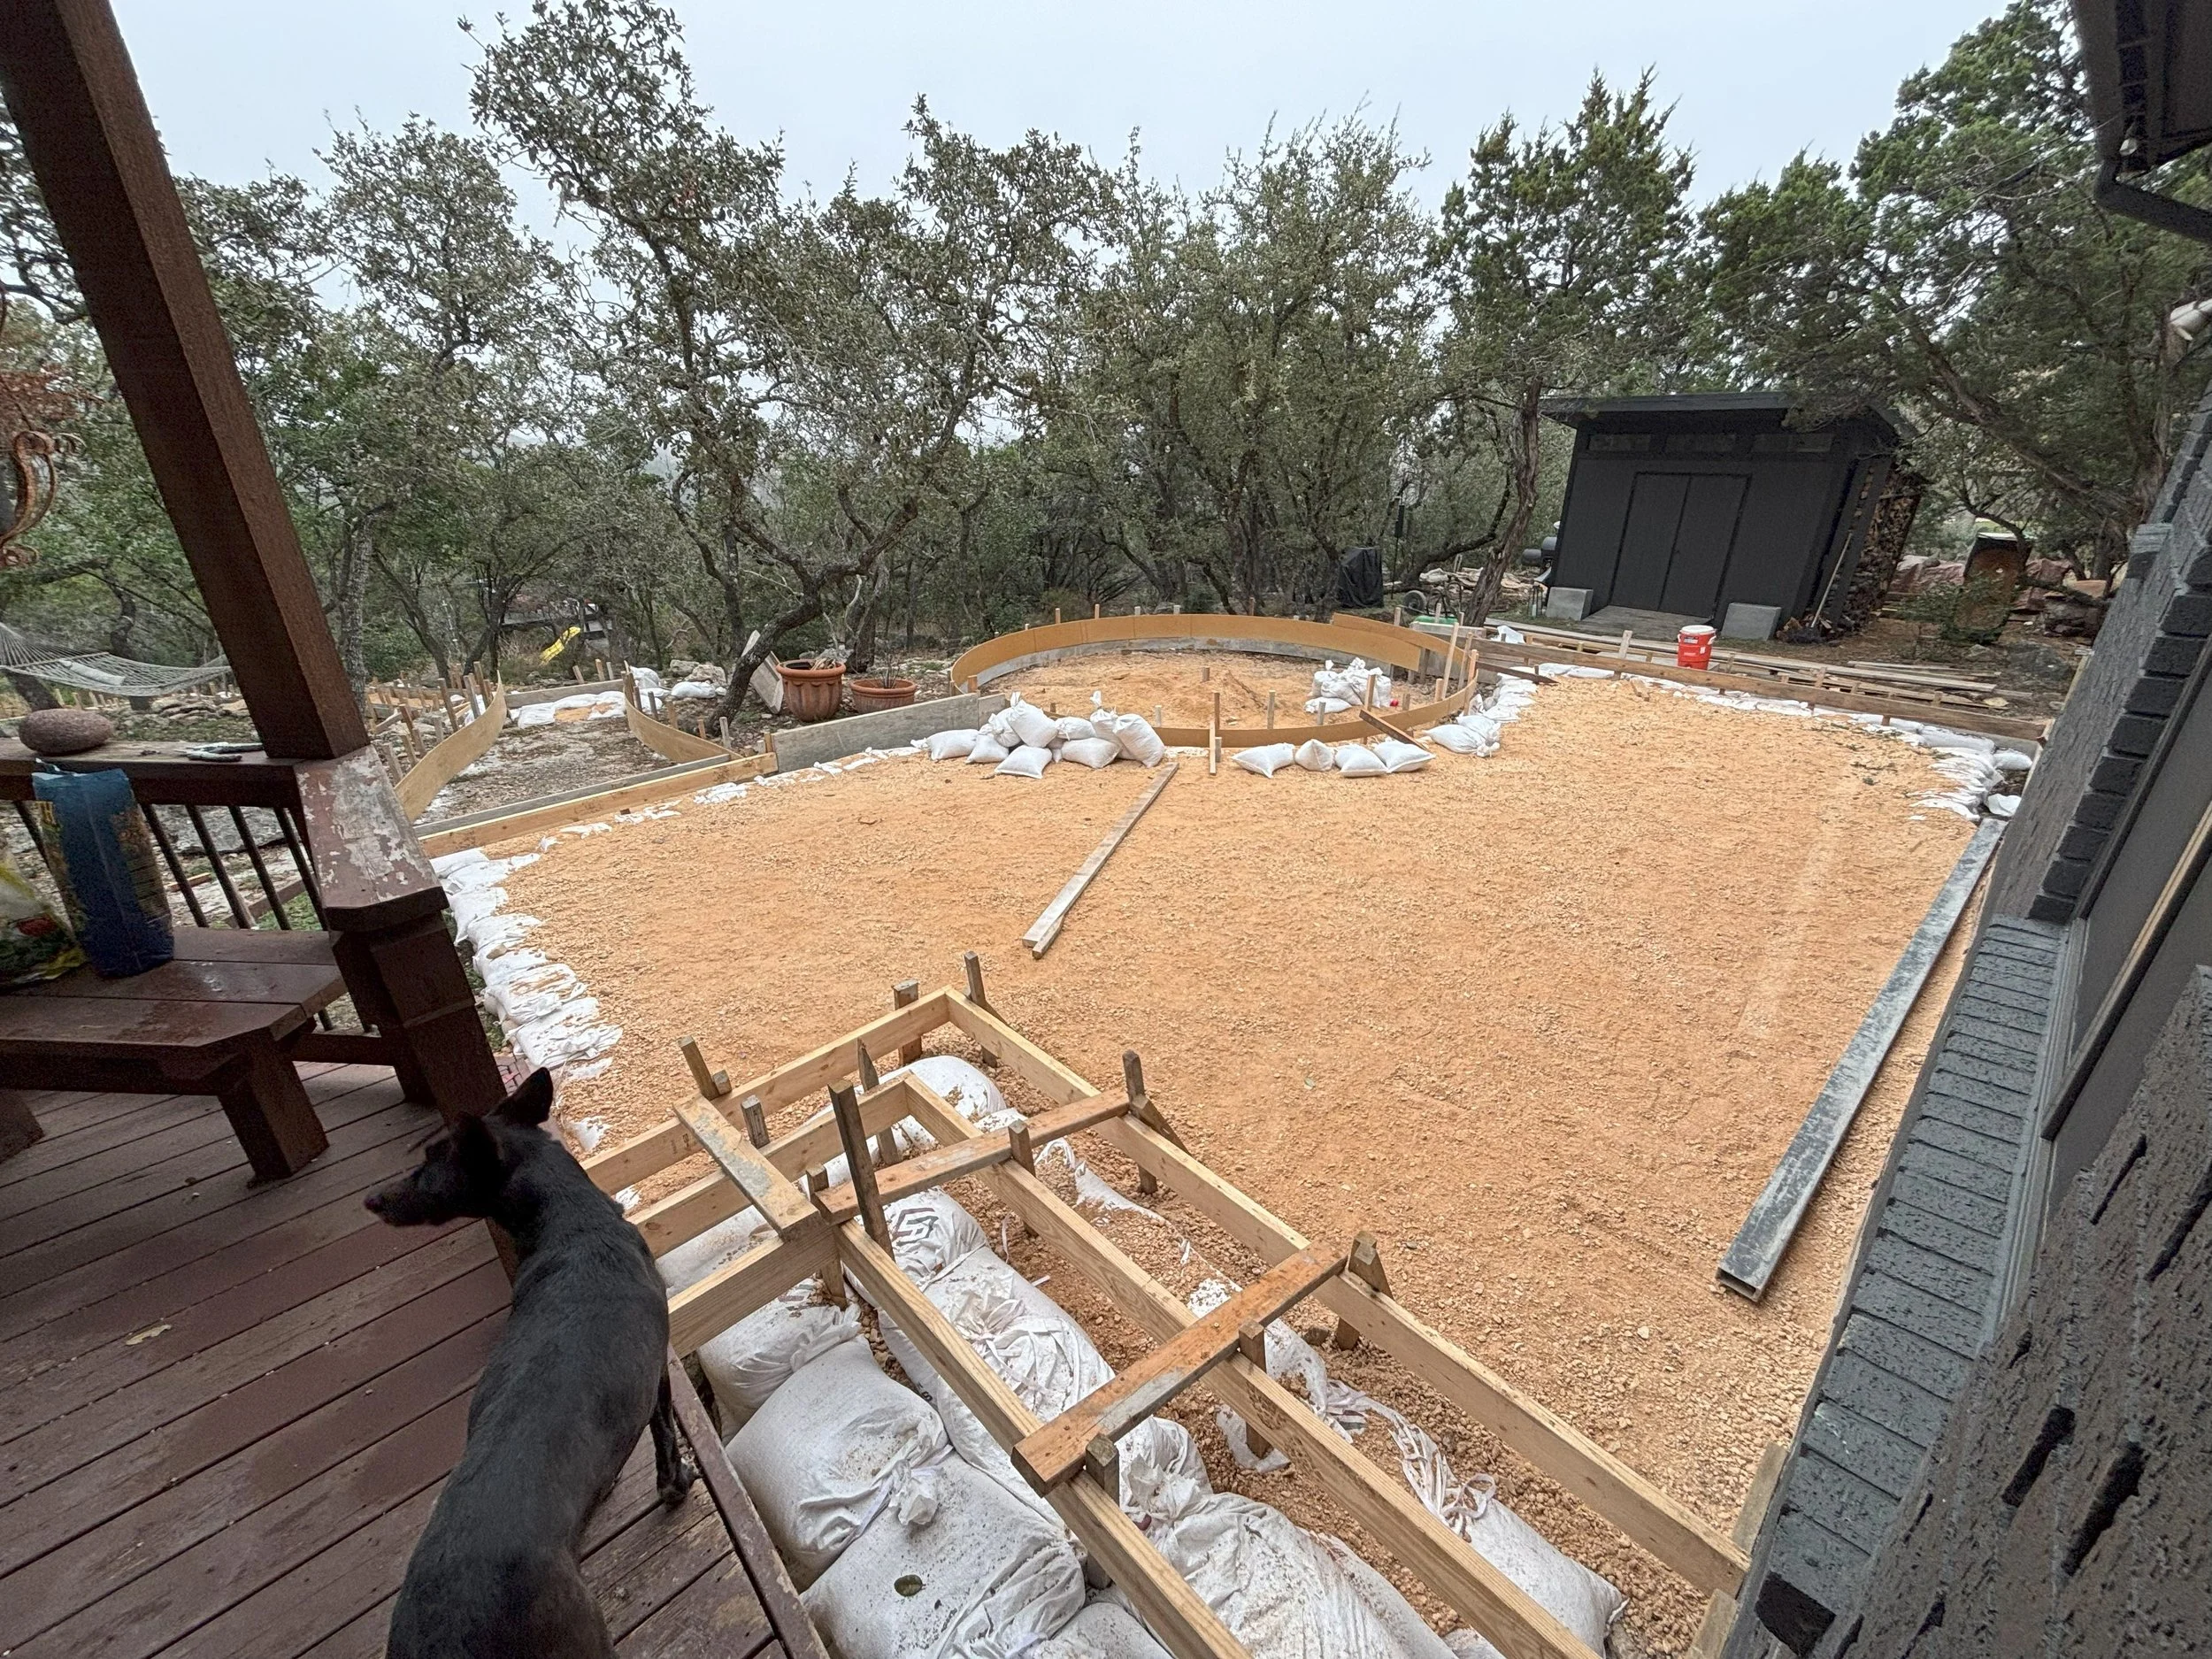
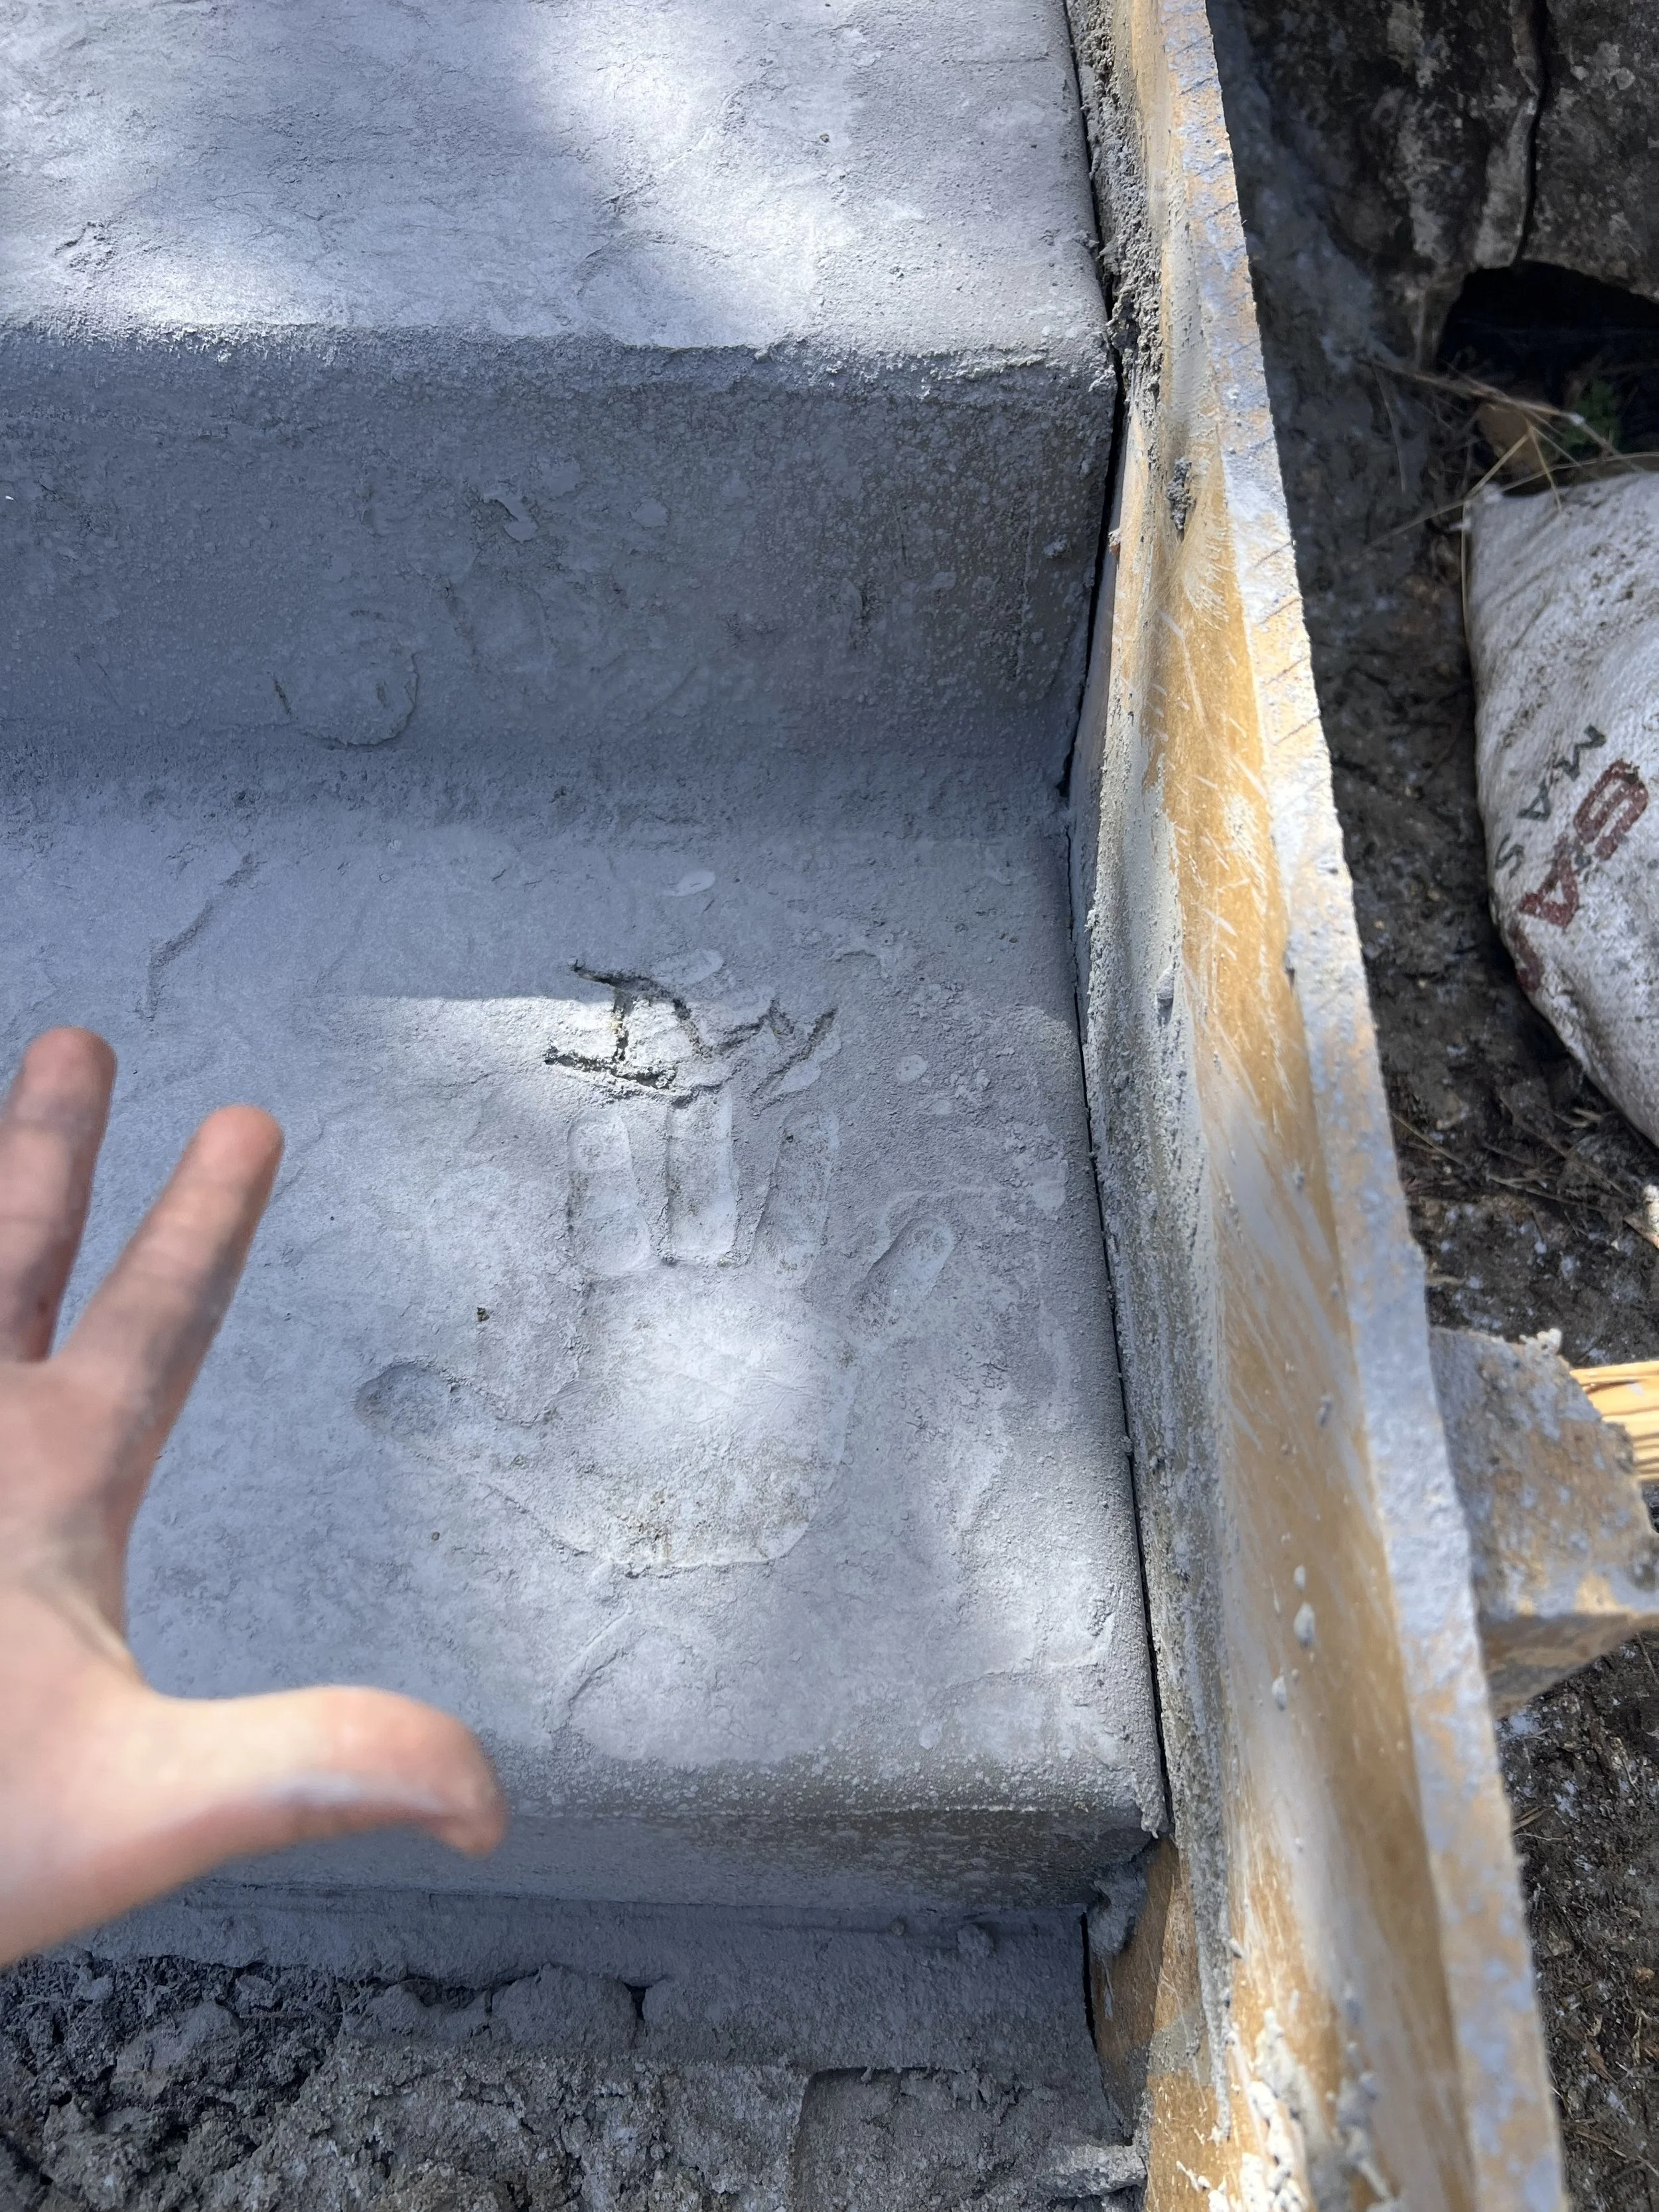
A few months later, our backyard reno was scheduled! We did run into delays because of rain, but they were able to knock the project out within a few weeks. Here are some progress shots during construction:


Watching the transformation unfold was fun for us, and I picked up a few pro tips along the way. Inspired by their expertise, we have decided to tackle the pavers in our veggie garden (I guess there really will be a Part 3), using some of the techniques we observed on a smaller scale. I’ve already sung Saylee Greer's praises to friends and neighbors—they were fantastic to work with. No perks or commissions here, just a genuine recommendation! If you’re in the San Antonio area and in need of some hardscaping magic, they’re a solid 10/10.

Now, feast your eyes on this before-and-after! I’ll be honest—no tidying or staging here (apologies!), but hey, this is real life, and sometimes I'm just too tired to clean. I haven’t added any new decor yet, so there might be a future photo op with everything spruced up. My concrete planters in front of the shed are in dire need of some green love, though—everything I've planted there has died. Oops!
Questions?
Do you have any questions about the exterior projects shared here? Leave me a comment below!
Looks like I need to finish a few exterior projects so I can share Part 3 with you. Sometime soonish, I’ll put together a post with our observation deck/playground, vegetable garden, and refinished wooden deck.